What’s New in Inventor 2021
The end of March is an exciting time of year for the Inventor team as we get ready to deliver a new release of Inventor for our users. We are also very aware of the current situation regarding COVID-19 and the serious impact it may be having on you, your family, your company, and your community. Here on the Inventor team, we echo the message from Autodesk regarding the priority of the safety of our partners, customers, and team members. Here is a link to Autodesk resources we hope can be of help. autode.sk/covid-19
Starting today, Inventor users will start to see Inventor 2021 available in all languages in your Autodesk Account and Autodesk Desktop App. Inventor 2021 is a culmination of 12 months of customer feedback, development effort, and market research. And we think the result is something you’re really going to like. Here is an overview of many of the updates and enhancements delivered in Inventor 2021.
Experience
Each major recent release of Inventor has included a step forward in what we know as the Inventor Experience. A few years back you saw updates to the application frame and 4K support, followed later by a dockable browser with quick search capabilities, and then last year with multimonitor support and new theme. While the “Light Theme” introduced last year gave Inventor and a few other products a fresh look and a common design language, we heard from many of you that you were also eager to have a dark option too. Some of you got a preview to the Dark Theme during the Design and Manufacturing Keynote at Autodesk University. We worked with many of you in the Feedback Community in developing and fine-tuning Dark Theme for Inventor 2021.
![]()
In addition to Dark Theme, we continue to upgrade commands to the modern command panel framework. With Inventor 2021 you will see more and more panels for commands throughout part modeling, tube & pipe, and frame generator environments.
![]()
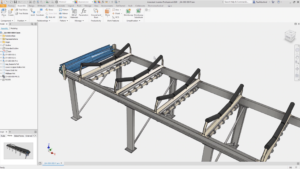
Based on input from many of our users, performance is as important as ever. We’ve continued to go farther in the 2021 release with further optimized performance in parts, assembly, frame generator, and tube & pipe workflows. You will experience faster open, update, compute, and graphic navigation workflows with your designs in this release. Inventor 2021 isn’t simply faster. We optimized the occurrences computing process and memory loading for invisible components. This means you will also experience less memory usage, therefore, higher capacity to handle larger assemblies.
![]()
Image courtesy of Feige Filling GmbH
Workflows
Inventor has been supporting associative workflows with non-native data since Inventor 2016 with our AnyCAD technology. Simply choose the ‘reference’ option upon import, and then be able to easily accommodate changes in your Inventor assembly, drawings, simulations, etc without having to manually re-import. In recent years we added formats like STEP, SolidEdge, and Fusion 360 as well as refined associative 2D-to-3D connections with AutoCAD.
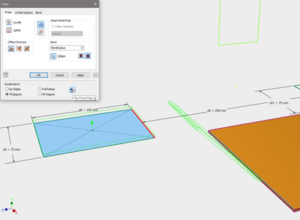
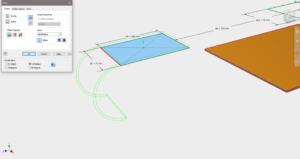
A significant portion of our Inventor community works with companies in the Architecture, Engineering, and Construction industry. In these accounts, they often need to create custom designs in the context of a building. With Inventor 2021 we are introducing AnyCAD associativity for Revit data. Now you can take advantage of the new Revit AnyCAD workflows to bring in just the data you need from a Revit file, and have it update associatively within your Inventor design. What’s more, when the Revit data is brought in, appearance information is carried over and you get a nicely organized representation of the building in the browser making it all easy to navigate.
![]()
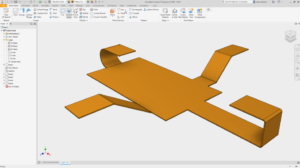
Drawing productivity and workflows have been enhanced with new Sheet Format workflows and expanded iLogic drawing functionality. Inventor 2021 will enable a new level of drawing automation to help you create, modify, and complete your 2D drawings. With Inventor 2021 your 2D drawing creation will be faster than ever before.
![]()
Customer Driven
In addition to all of this, Inventor 2021 has over 60 enhancements driven directly from your feedback and requests on top of all of the enhancements that were rolled into the incremental updates last Summer and Fall. We focused these enhancements on areas you discussed with us in Inventor Forum and Feedback Community, areas you highlighted on the Ideas page, and in our many in-person and online meetings over the past year. Customer driven enhancements are represented throughout Inventor in parts, assemblies, and drawings. For a complete list of customer driven enhancements, be sure to read the Inventor 2021 online help.
Over the next few weeks, the Inventor team will do a few more posts to dive into some of the details of the Inventor 2021 release.
Update to the Inventor Public Roadmap
As you can see from reading about the Inventor 2021 release, many of the things listed in the initial Inventor Public Roadmap were delivered with this latest update. This means it is time for us to share an update on what we are working on for upcoming Inventor updates and releases.
This roadmap may make statements regarding future events and development efforts for our products and services. These statements reflect our current expectations based on what we know today. Our plans are not intended to be a promise or guarantee of future delivery of products, services, or features, and purchasing decisions should not be made based upon these statements. We do not assume any responsibility to update this roadmap to reflect events that occur or circumstances that exist after the publish date of this roadmap.
We continue to look at how we can deliver Experience, Automation, and Insights to you with Inventor development and enhancements. Many of the areas of development come directly from you, our users, via Inventor Ideas page, Inventor Forum, and the Inventor Feedback Community.
![]()
Experience
With the delivery of Dark Theme as a preview in Inventor 2021, we will continue to listen to your feedback on Dark Theme and make enhancements and improvements as needed. In addition to theme work, we will continue to move commands to the modern panel architecture to improve functionality and increase your productivity. We are looking at more complex commands that are used often; like Fillet, Chamfer, and Loft that require additional selection filters and framework enhancements within the panels.
![]()
Driven directly from your feedback, we will continue to focus on implementing Inventor Ideas. These enhancements will surface in a variety of environments and edit, create, save, and export workflows. These Inventor Ideas enhancements are voted on by you, our Inventor users, and are the type of continuous improvements you have come to expect from Inventor with each update. We continue to listen to you, and add your Ideas into our development backlog. This includes improvements anywhere from additional Frame Generator enhancements, to customizing middle-mouse button functionality, and everywhere in between.
![]()
Automation
We see more and more of you working with Revit and Inventor together. With Inventor 2021 we introduced the ability to associatively use Revit data within your Inventor design. We have worked with many of you and heard your need to use Inventor data in Revit in much the same way. Based on the feedback and research, we are working closely with the Revit team to ensure we can help build similar functionality for Revit users that need to leverage Inventor data in their Revit designs. We also are focusing on how we can help Inventor users prep their designs to be used in Revit before sharing. It’s all focused on helping those in Building Products and Custom Fabrication use the power of Inventor for engineering design alongside Revit for large scale building models.
![]()
Insight
Those of you that participate in Inventor alpha and beta testing may have noticed that we ask you for your feedback on Inventor when you close your session. The feedback has been incredibly valuable as we developed toward the final Inventor 2021 release. Going forward, we are looking at ways to enable you to provide feedback directly to the development team on the Inventor you are running to do your daily work. Our goal is to use this feedback alongside all the other channels you use to provide feedback directly to the Inventor team.
![]()
How to get involved
Developers, experience designers, and product managers from the Inventor team talk to customers every day via the Inventor Ideas page, and the Inventor Forum. As part of the Inventor Feedback Community you can get much more information on the projects we are working on for Inventor, and get to test out alpha and beta builds through your browser. We encourage you to be involved in any or all these communities you find valuable and let us know what you would like to see in upcoming releases of Inventor!
As always, on behalf of the entire Inventor team, I thank you for being an Inventor user. We can’t wait to hear what you think of Inventor 2021 and what you want to see in Inventor in the future!
Regards,
Loren
@lorenwelch
![]()
Loren Welch is a Sr Product Manager for the Inventor product line at Autodesk. Loren has over 20 years of industry experience in multiple CAD/CAM/CAE/PDM software applications and rapid prototyping solutions. He has been at Autodesk since 2008, where he currently manages release planning, product roadmap, and customer engagement for the Autodesk Inventor product line.
The post What’s New in Inventor 2021 and Public Roadmap Update appeared first on Inventor Official Blog.


 Marc joined Autodesk in 2014 as a Design & Manufacturing Technical Specialist. Recently he joined the Product Marketing team. He is responsible for product marketing for the design and manufacturing software that makes up the Product Design and Manufacturing Collection but, more specifically, the collaborative tools (i.e. Vault and Fusion Lifecycle).
 Trevor is an experienced marketing and content creation professional who has spent his entire career helping engineering technology companies reach their customers through digital media. He currently works for Autodesk on the Digital Aquisition Team where he’s responsible for social demand generation for the AutoCAD and Design and Manufacturing families. You can also see his written engineering marketing content on InterestingEngineering.com, Curiosity.com, and other sites across the web.


 Luke has been involved with design, engineering, and analysis since 1995. His career started in telecommunications designing mobile production equipment. He has taught design at Pittsburgh Technical College, spent 10 years as an application engineer, and currently over 8 years with Autodesk creating technical and marketing content. His various roles as educator, end-user, and provider give Luke a unique perspective on identifying, understanding and helping solve engineering challenges.


 My experience is primarily in manufacturing and design. I started drafting iron doors, gates, spiral staircases, and fire & water features. I became an engineer at an aerospace manufacturer of contacts and connectors working with Inventor 2010. Managed drawings for 53 screw machines, designed custom fixtures, multi-step drill bits, and specialty tooling. Worked for an iron entry door manufacturer with 80 welders. Moved them from AutoCAD to Inventor with parametric modeling and Vault revision management. Using Vault Copy Design led to streamlining of manufacturing, limited errors in plasma cutting, ensured proper fitment and allowed customers to visualize with 3-D renderings. I took a position as a Research & Development Designer. Joined Autodesk in June 2017 working out of Portland, Oregon.
 Ravi is a Product Manager at Autodesk. Ravi graduated from Stevens Institute of Technology with BE in Mechanical Engineering (concentration in robotics and mechatronics) and a ME in Engineering Mgmt/Systems Engineering. He pursued his interest in Advanced Manufacturing while working with Magestic Systems Inc. which was later acquired by Autodesk in July 2014. Ravi has developed his expertise in nesting, cutting, and fabrication while working with various customers.
 I’m a Technical Support Senior Specialist and a Team Lead in the Customer Success Organization at Autodesk. My expertise includes Inventor, Vault, AutoCAD, AutoCAD Mechanical, product installation / licensing and computer networking as well. Being in the technical support for over 14 years, I’ve been super passionate about helping our customers to be successful and productive every day by solving software problems and sharing best practices. Welcome to the Autodesk community and thanks for being our valuable customers.


 Mike spent the first half of his career in the Autodesk channel working for a reseller as an Application Specialist. During his travels, he was very fortunate in helping solve issues utilizing Autodesk software.
 to build parts; keep third-party data in their non-native format; use 2D and 3D PDF for communication; perform to-and-from exchange with Revit software; share with others using the A360 cloud-based collaboration service; export Inventor bills of material (BOM) information to non-engineering users; and associatively share information with Fusion 360 software—and who knows what else!


 I have more than 40 years in the mechanical design field covering industries of automotive, power generation, industrial, consumer goods, avionics, and hazardous waste removal. I’ve been using Inventor software since Release 3 and was the first commercial implementation of Vault Workgroup software. Awarded Autodesk, Inc.’s, Expert Elite Member since 2014, an Autodesk Inventor Certified Professional and an Autodesk Certified Instructor. I have also been a speaker at Autodesk University 2015, 2016, 2017, 2018 & 2019 as well as a Speaker Mentor for AU2017, 2018 & 2019

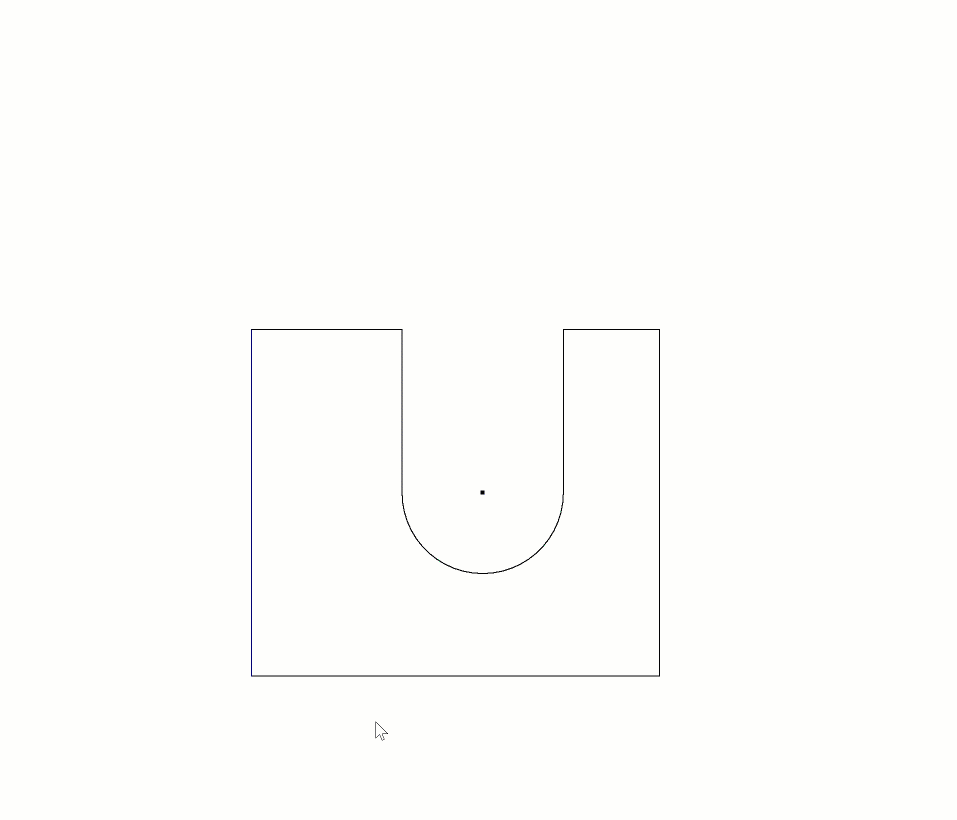
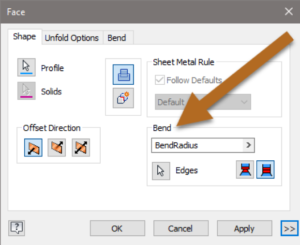
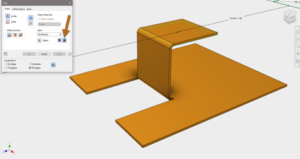
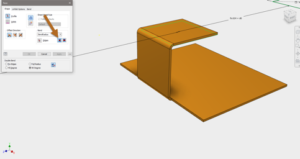
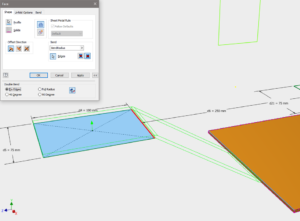
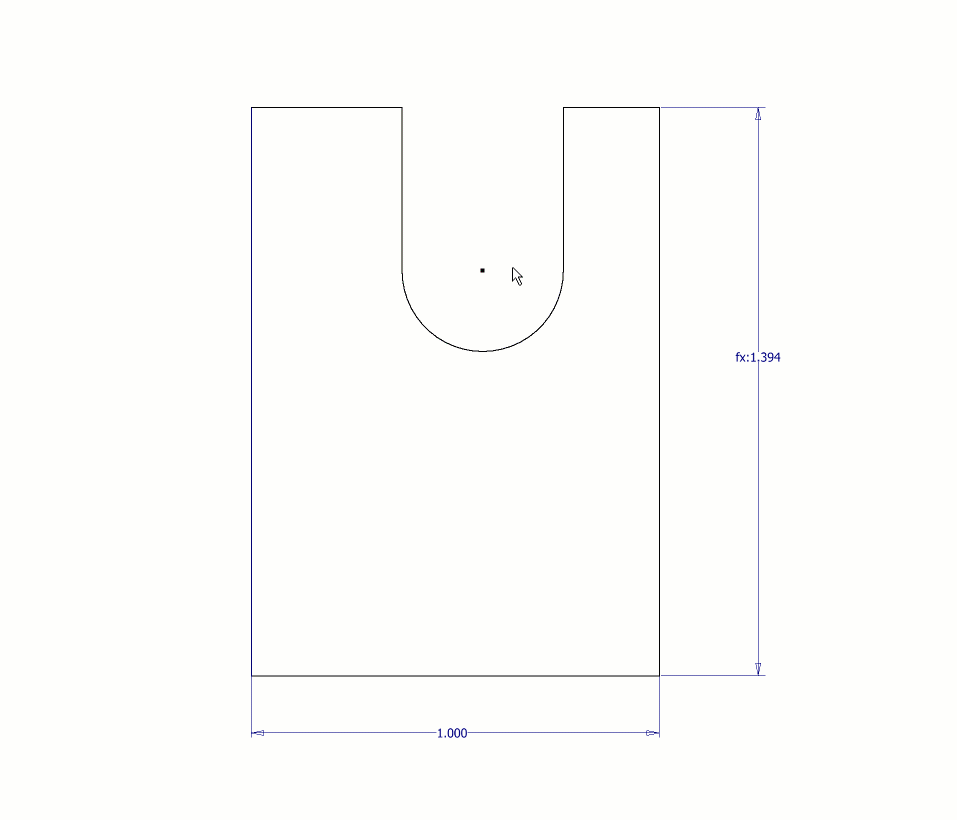 Using Reference Dimensions
 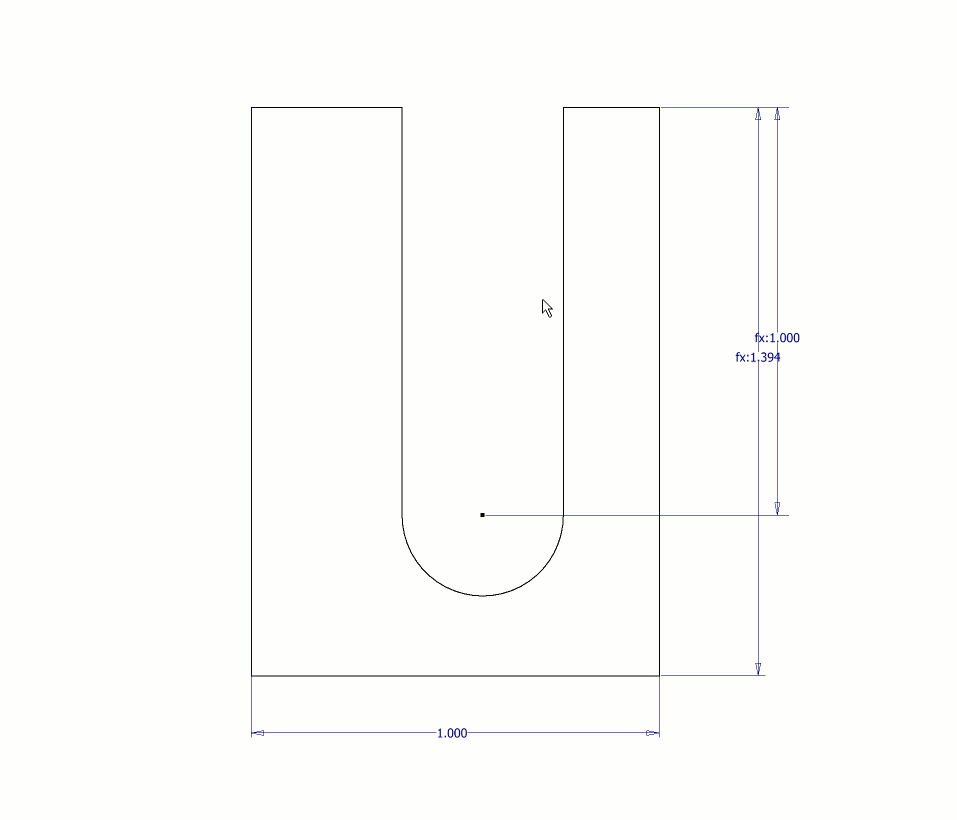 Written by:


 Donna Lawrence is Head of Information and Technologies for Empire Industries and its divisions, the largest being Dynamic Attractions. DA designs and builds amusement park rides and the world’s largest telescope structures like those on Mauna Kea in Hawaii. She provides strategic oversight of corporate-wide information technology activities.
 Craig is the Lead Designer at Dynamic Structures where he is supervising the design team on the Thirty Meter Telescope Enclosure. He is actively involved in developing the company’s approach to CAD Standards, Integration and Methodologies. He is helping coordinate the move to a Product Based Manufacturer from a Project Based one.


